In this article, we’re going to talk about scheduling tweets ahead of time, which is going to help you stay organized and save you time. Twitter has a tool called TweetDeck that you can use to make this process easier. Let’s dive in.
Scheduling Tweets
- Go to TweetDeck in your web browser. Sign in with your Twitter credentials. If you are already signed into Twitter, you won’t need to do so a second time.
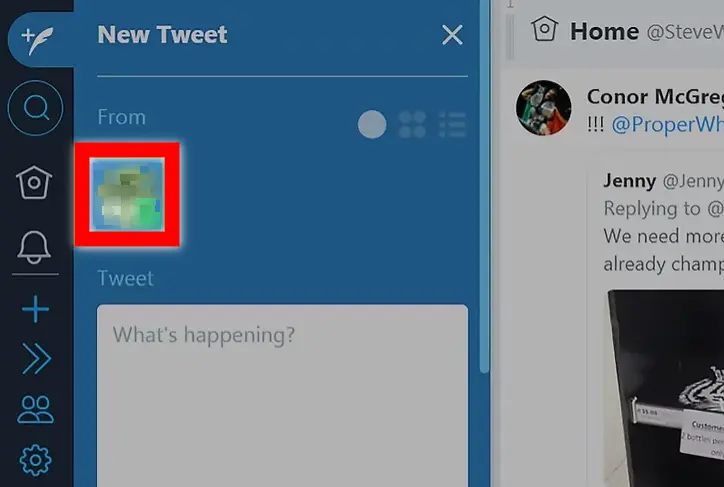
- Find the ‘tweet box’. If you can’t see this, then you can select the ‘new tweet’ button, which will be at the top of your screen to the left.
- Select your profile. Select the Twitter account that you want to tweet through.
- Type in your tweet. Don’t forget that Twitter has a character limit of 280. You can also add videos and images to your tweet by selecting ‘add images or video’.
- Select the ‘schedule tweet’ button. This is going to be under the ‘add images or video’ button.
- Select the time and date that you want to schedule the tweet for. You can change the month by selecting the ‘>’ button. Select the ‘am’ and ‘pm’ button to change the time.
- Schedule your tweet. Select the ‘tweet at date/time’ option to save your tweet.
Managing Your Scheduled Tweets
- Go to TweetDeck in your web browser.
- Select the ‘add column’ button, which looks like a plus sign.
- Choose ‘schedule’ from the screen that will pop up. Now a new column will appear on the dashboard.
- Edit your tweet. Select the ‘edit’ button so that you can edit your tweet.
- Delete a tweet you have scheduled if you need to. Select the ‘delete’ icon and confirm the deletion of your tweet.


